Creating Your Own Website in 8 Simple Steps
If you click to purchase a product or service based on our independent recommendations and impartial reviews, we may receive a commission. Learn more
A personal website can be the key that opens many doors. It’s a great way to organize and showcase any creative work for audiences or potential employers – or simply just a way to express yourself. But where do you begin? Is it hard to build a website? What if you get stuck?
There are several legitimate concerns when starting. Whatever the case may be, we recommend using a website builder as the easiest way to create your personal site. I’ve created this comprehensive step-by-step guide to teach you exactly how to get your personal website up and running in no time.
Why Do I Need a Personal Website?
It’s less about what a personal website is and rather what a personal website does. They’re a way to show the world who you are, what you can do, and why you do it.
Think of it like an online dictionary definition of yourself. If someone was searching up your name and your personal website came up (as it should), it should reflect everything there is to know about you and your work.
And, depending on your work, the website will change. Writers may want to prioritize blogging while artists will need a website builder with plenty of gallery and image options. Your website is the online representation of yourself, so take some time to consider how you want to put yourself out there.
Step 1: Secure a Domain
Once you’re set on the path of creating a website, there’s an important step that has to be taken first: securing your domain name. This is the address at the top of the search engine and is very important in helping others find your website.
The best advice for personal websites is to use your own name. It’s super clear who the website belongs to, it’s easy to remember, and it looks more professional overall.
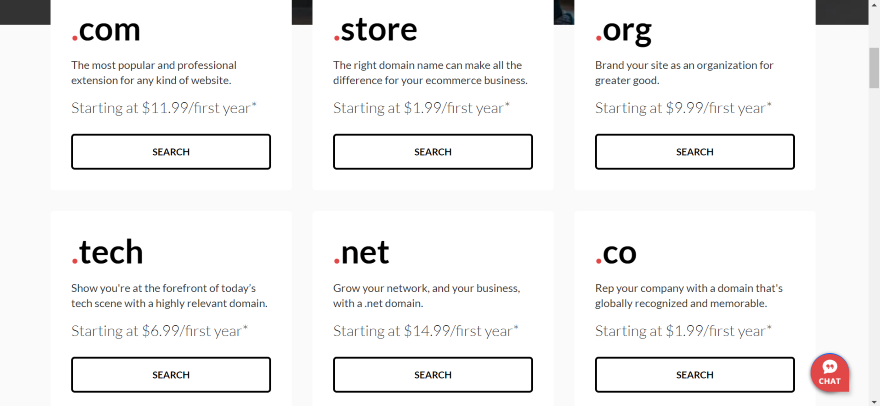
The next step is to search for it in a domain registrar. We recommend using sites like Domain.com and NameCheap, where you’ll pay an annual fee of around $10 to $15 per year. Website builders like Wix or GoDaddy often offer a free domain for a year when you build with them, and you can always connect a third-party domain if you’ve already purchased one.
But, what of the Muhammads and John Smiths of the world? If your name has already been taken from a domain registrar, what can you do? The first step would be to add relevant keywords: put blog or artist at the end to make it more specific (this also helps with SEO and getting your site seen by more people).
If you’re still having trouble and can’t use your name, you may have to develop something original. In that case, here’s some quick guidelines for picking a domain name:
- Short and simple: a concise domain name is easier to remember
- Easy to spell and pronounce: avoid complex or uncommon terms
- Avoid hyphens and numbers: it’s harder to remember and type in
- Consider the extension: select a domain extension (.com, .org, .net, etc.) that fits your website’s purpose and target audience nicely
- Research trademark and copyright issues: make sure you’re not infringing on any existing trademarks or copyrights
Step 2: Choose a Website Builder
Once your domain is secured, now’s the time to pick your website builder. It’s here that you’ll pick a template, fill your site with content, generate traffic, and continue to update and upgrade your website once it’s published. A big decision!
Different website builders are suited for different website types, but pretty much every builder can manage a personal website. Therefore, you can have fun and play around with finding the exact website that suits your specific style.
If you need a bit of help (or just don’t have the time), then here are our top three recommendations for a personal website:
| Wix | Squarespace | GoDaddy |
| Wix is extremely beginner-friendly. It kicks off with a starting price of $17 per month (and 10% off if you use the code TAKE10). Wix has the best feature score in our research, having more tools and covering more industries than any other builder. Wix also has over 900 templates to choose from, and they’ve all been professionally designed. Read our full Wix Review for more | Squarespace starts with prices from $16 per month (and 10% off if you use our code WBE10) and is a website builder designed to help people build their own websites and showcase their work, no matter their technical ability. It’s often a favorite among artists, photographers, and those who love design – plus SEO tools help bring your site to the attention of relevant readers. Read our full Squarespace Review for more | Taking just 30 seconds to set up, GoDaddy is the fastest way to build a personal website – period. It's also a super affordable option, with paid plans starting at just $9.99 per month. GoDaddy lets you switch templates at any time – so it’s ideal for those who need that extra bit of flexibility (or who are just a bit indecisive!). Read our full GoDaddy Review for more |
Step 3: Find a Template You Love
Now that you’ve chosen your website builder, it’s time to pick a template. A template is a pre-made website design you can edit and customize as little or as much as you want. They’re useful for showing you how a website should look – but whether you follow their example is up to you.
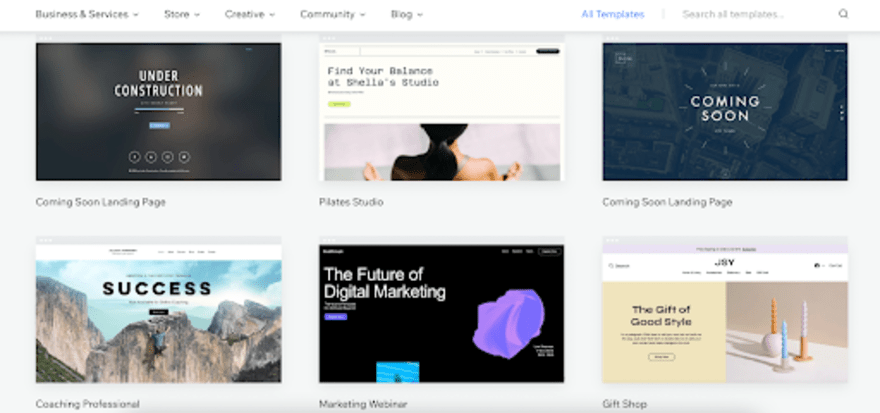
Most website builders today have two options for templates: you can either pick from a selection of pre-made templates across a range of industries or have a custom template generated for you thanks to AI.
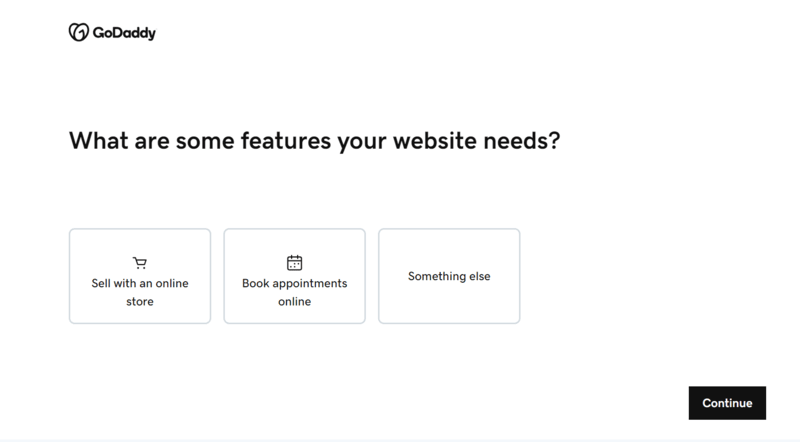
The debate of editor vs ADI is a long one. With an AI-generated template, you skip all the indecision and get something generated for your exact needs. Simply answer a short questionnaire about what industry you’re in and the name of your website and the AI does the rest. However, from our first-hand experience, these AI sites are never as strong design-wise as some of the professionally designed templates available on the likes of Wix and Squarespace.
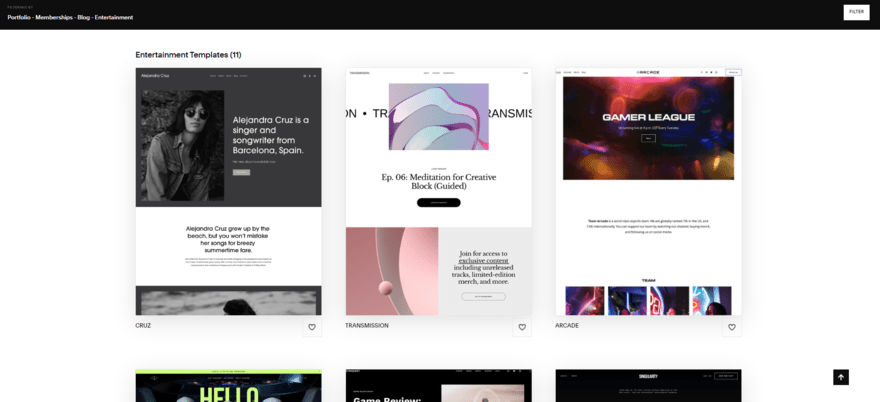
What matters is what looks best to you – and the purpose of your personal website. If you need it to look professional, then perhaps a super flashy template won’t look the best. On the flip side, a dull website isn’t going to showcase your artistic ability the way one designed by the artist will.
Step 4: Add Your Website’s Content
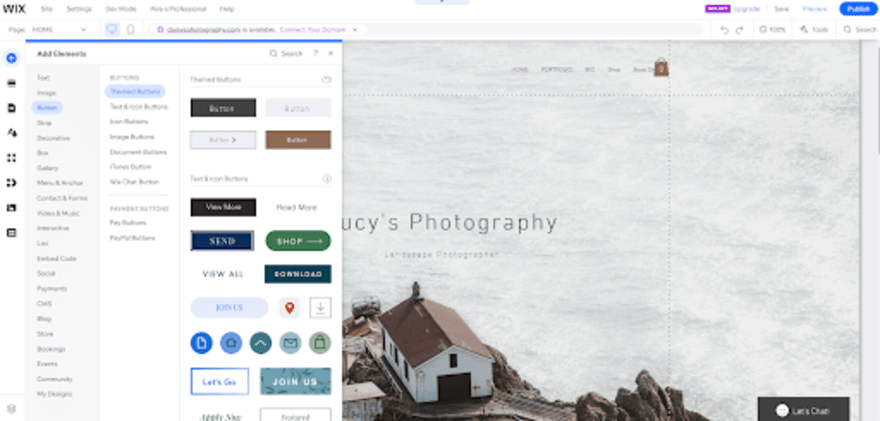
All the pieces are in place – now is the time for actual website building! Once you’re in the editor, you’ll get a choice of various elements to add to your website. Depending on your website builder, the choices can be overwhelming and, in all honesty, a little scary.
But don’t be intimidated! We can walk you through the optimal way to create your site and make sure you don’t get an indecision episode:
1. Add Static Content First
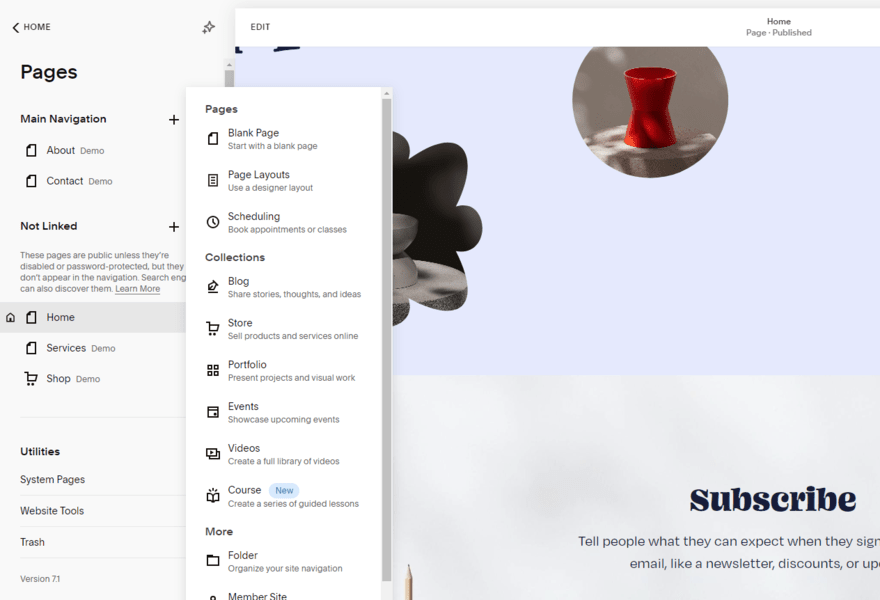
Before you begin uploading work, set up the pages you need first. We recommend a Contact Us page with all of your details and an About Me page that tells people a little about you. Once these pages are done, it’ll be easier to plan the rest of the site around them.
2. Upload Your Best Work
Once the structure of your site is finished, you can start adding your work. Try and organize it in an easy-to-navigate way, utilizing drop-down menus and shortcuts.
3. Proper Text Formatting
Make sure you use headings and sub-headings when writing copy on your site. It’s not only good for readability but for SEO as well. Additionally, don’t go overboard with the copy either. Too much text may drive visitors away.
4. Don’t Go Crazy
Too many elements on one page might slow your website down, ruining someone’s visit and potentially impacting your search result ranking, as site speed is a major factor in SEO. Visual clarity is king for websites, so try not to overstuff your site with unnecessary features (if you can resist the temptation!).
5. Mobile Devices
You can’t guarantee what technology people will be visiting your site from. Over 60% of all internet traffic comes from mobile devices, so you must cater to them. Try visiting your site once it’s published on other devices to see if it looks good. If not, back to the editor!
Step 5: Get Your Website Seen
Once your website is all ready, you can press publish and have your site live on the internet. Amazing…now what? Well, now you’ve got to try and get people to visit your website!
If you’ve been following our guide closely, your website should already be fairly optimized for SEO, but there are a few extra things you can do to really boost it, such as adding alt text to the images on your site. It’s super important to always be monitoring these things since SEO affects where you show up on the search results page – you wouldn’t want someone else’s site appearing ahead of you!
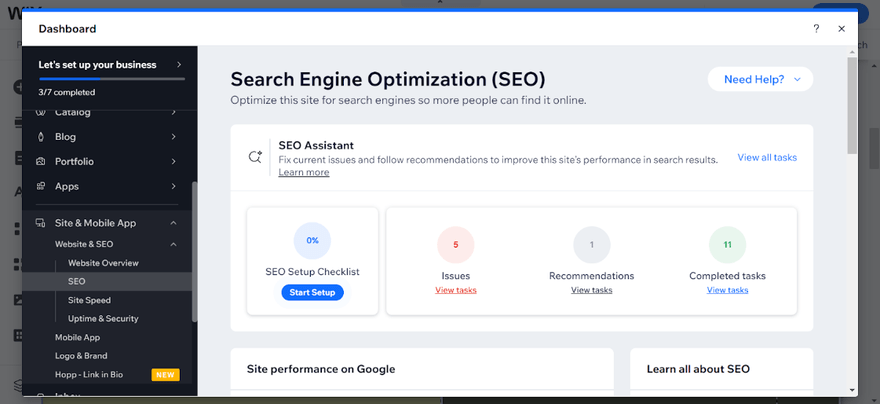
If you want to take a more active approach to getting traffic to your site, many website builders have several marketing tools you can use to attract people, such as:
Social Media
Posting to social media is important to start building your online presence. Add your new website to existing profiles, start promoting, and even cross-post content across multiple social channels. Keep it updated with new information (or, if you’re blogging, post regular content).
Relevant Links
Seeking out links back to your personal website from trustworthy and noteworthy publications isn’t just good for publicity – it’s great for helping your website rank for relevant terms in search engine results, too!
A great way to do this is with Guest Blogging. Pitch content for popular online publications, ask other creators if they’d like to collaborate and start generating links back to your website. It’s ideal for building up your profile, and has excellent benefits for your site’s SEO health, too!
Email Marketing
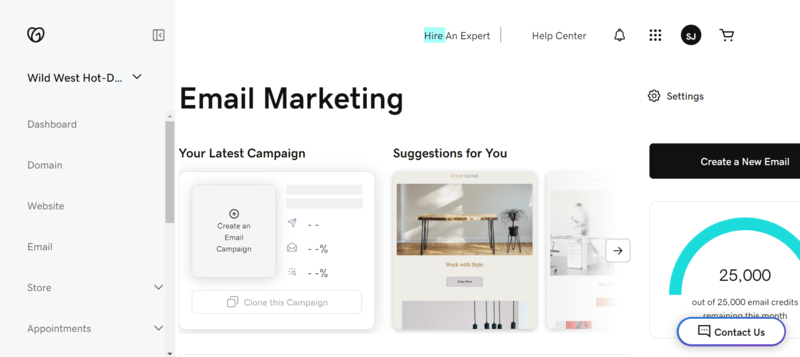
Use an email opt-in tool to obtain email addresses and start to make contact. This could help connect you with potential future employers, and build those all-important connections. You can also start writing and releasing email newsletters, which are superb ways of delivering your content straight into someone’s inbox.
Search Engine Marketing (SEM)
This strategy involves paying to place your personal website at the top of search engine results pages, such as Google, Yahoo!, and Bing. It works on a model called pay-per-click (PPC), whereby you “bid” on the amount you’re happy to pay for each click-through to your website. It’s competitive and expensive – but it can also be highly effective.
How We Test
For our detailed How-To guides, we rely on our first-hand experience building websites to inform the advice and steps we give. Our rigorous research methodology is updated annually, which includes a six-week building boot camp for all of our writers where we get up close and personal with each provider we talk about.
For this specific guide, we wanted to consider the reasons why users create personal websites, and uncover which website builders accommodate the desires of these users. This included looking at blogging features, gallery options, ease of use, and the cost-effectiveness of the premium plans. Cross-referencing this with our research, we landed on Wix, Squarespace, and GoDaddy as three website builder recommendations for personal websites.
How to Start a Personal Website: Summary
So, whether you’re applying for jobs, hoping to progress professionally, or simply sharing something important to you, creating a personal website will only benefit you in the long run. And remember – your online presence can have a huge impact on your prospects and exposure to the people you want to be connected with, so getting it right is important.
With a little help from us and some hard work, you’ll be well on your way to creating a unique personal website!
4 comments